Capturing the unfolding beauty of a sunset, blooming flower, or bustling street with a time lapse camera using Raspberry Pi is easier than you think. In about an hour, you can build a fully automated rig powered by a Raspberry Pi camera OS, shooting periodic photos and stitching them into video. This Raspberry Pi Zero camera project is perfect for beginners as you’ll fund minimal parts and maximum creativity here!
What Makes a Raspberry Pi Time Lapse Camera Special?
With just your Raspberry Pi, camera module, and a tripod, you can create a powerful DIY time-lapse camera. Unlike bulky traditional gear, this setup is compact, low-cost, and infinitely programmable. You’ll learn fundamental skills from scripting in Raspberry Pi camera time-lapse Python, managing files, and optimizing capture intervals.
What You’ll Need
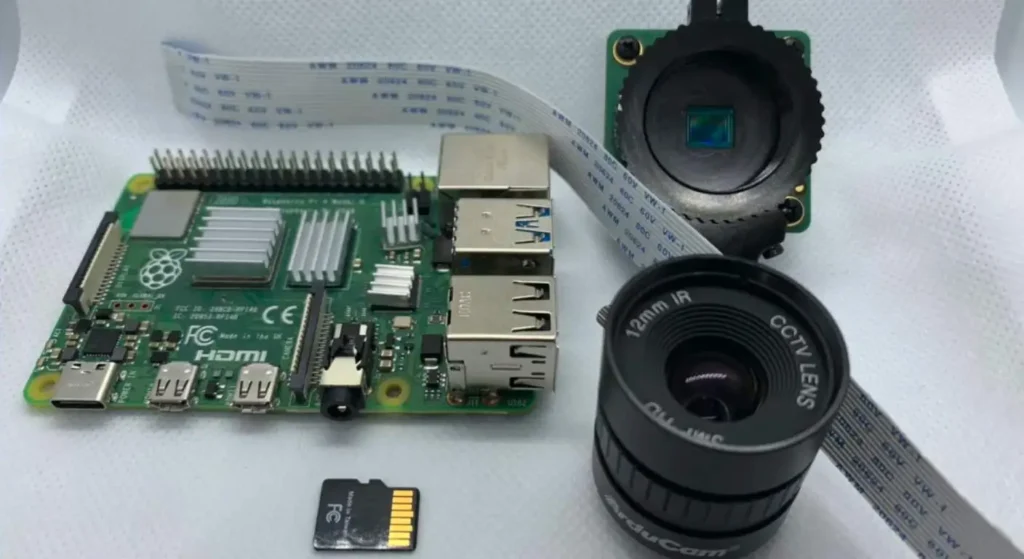
- Raspberry Pi 5 or Pi 4 or even a Pi Zero; project works with Raspberry Pi Bookworm camera images.
- Camera module (V2 or V3 Wide recommended) + ribbon cable
- microSD card with Raspberry Pi OS (Bookworm recommended)
- Power supply, tripod or stable mount
- Optional: battery pack for remote setups
Step 1: Hook Up the Hardware
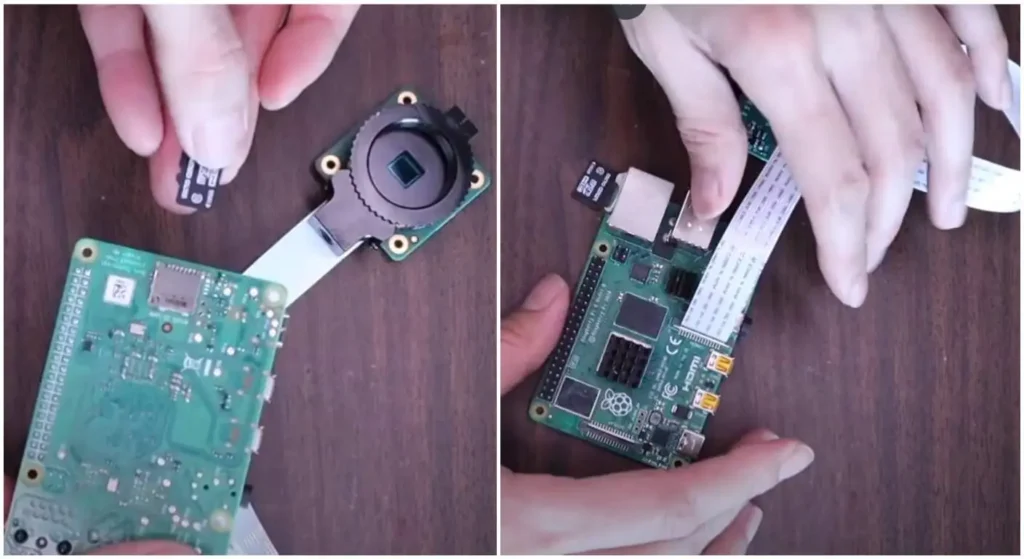
Power off your Pi, gently enable the camera interface on the Pi Zero or Pi 5 connector, and insert the ribbon cable with metal contacts facing the Ethernet side. Mount the camera on a tripod or frame as you well know stability is key to crisp time-lapse footage. Once everything is connected, power it back up and ensure the OS is installed on the SD card.
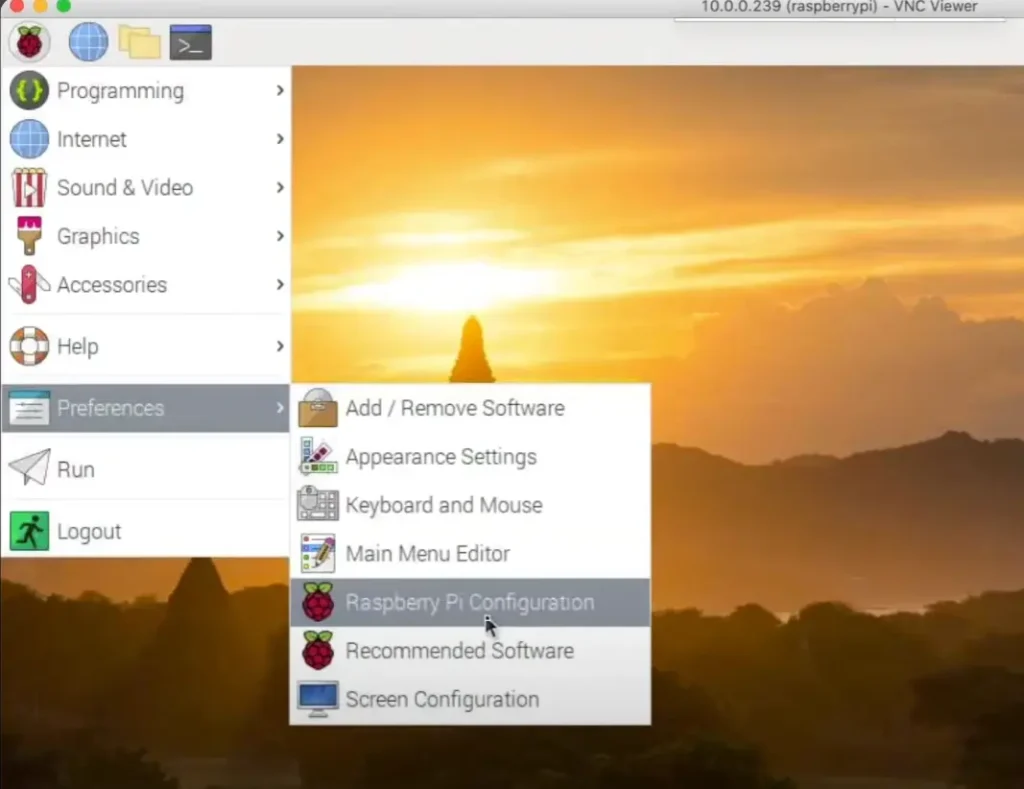
Step 2: Enable the Camera and Update System
Open terminal and enter:
sudo apt update && sudo apt upgrade -y
sudo raspi-config
Under Interfacing Options, enable the camera and reboot. If your OS version is older, use alternatives like libcamera-still. Pi My Life Up’s guide mentions this: Pi OS Bookworm supports rpicam-still which simplifies capture on Pi 5 nicely.
Step 3: Capture a Test Photo
Run this to test:
rpicam-still -o test.jpgCheck the image to ensure proper framing. Use --hflip or --vflip flags if the orientation is upside down.
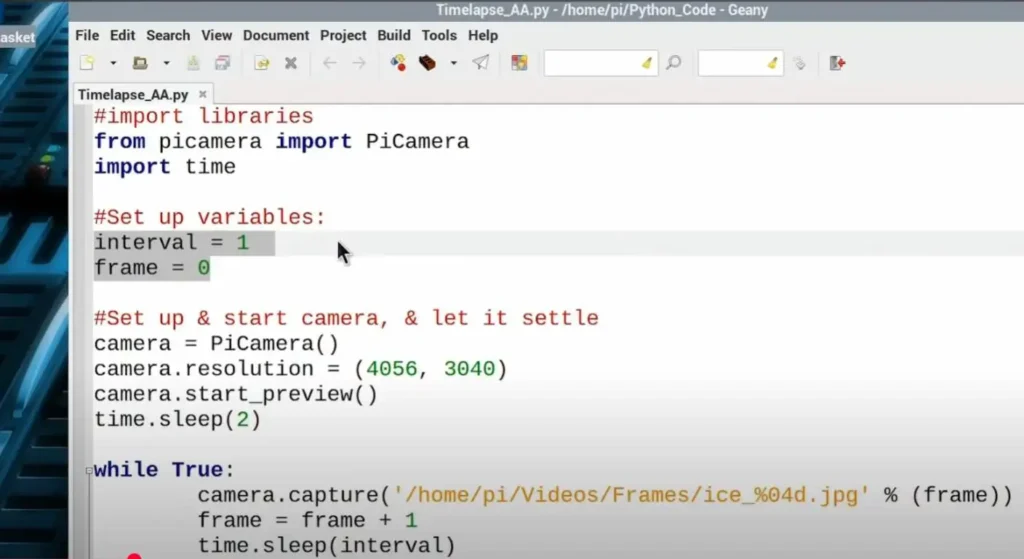
Step 4: Automate Photo Capture with Bash Script
Create a directory:
mkdir ~/timelapse && cd ~/timelapse
nano camera.sh
Add:
#!/bin/bash
DATE=$(date +"%Y-%m-%d_%H-%M-%S")
rpicam-still -o "$DATE.jpg"
Save, make it executable:
chmod +x camera.shThis script names images by timestamp and saves them into the timelapse folder.
Step 5: Schedule Automatic Shooting with Cron
Set the interval. For example, one photo every 10 seconds:
crontab -eAdd:
*/10 * * * * /home/pi/timelapse/camera.shSave and exit. The camera will now capture indefinitely every 10 seconds. Aim higher or slower based on how fast your scene moves.
Step 6: Create a Video from Captured Images
When you’re done capturing, stop cron (crontab -r) and generate a video:
cd ~/timelapse
ffmpeg -r 24 -i %04d.jpg -vcodec libx264 timelapse.mp4
This combines images into a smooth 24fps video. You can play it directly or transfer it via SCP to your computer.
Step 7: Example Projects to Try
- Sunrise/sunset decks
- Plant growth or flower blooming
- Busy streets or building construction
- Night sky star trails (longer intervals)
If you’d like to extend this setup into motion-triggered capture, then a full guide to Turn Raspberry Pi into Motion Detecting Home Security Camera will let you learn how fast DNS-based filtering transforms your home Wi-Fi.
Pro Tips & What to Avoid
Do:
- Use stable tripod or mount to avoid frame shifts
- Delete old images automatically (cron + cleanup script)
- Keep power stable; add battery if outdoors
Avoid:
- Compressing images too high (keeps detail for video)
- Running capture and rendering at the same time
- Forgetting to stop cron when done capturing
Top-secret tip: Use a config file (JSON or YAML) to set interval, duration, frame rate. You can then write or use existing Python scripts like those in Shillehtek’s tutorial for more flexibility
Why This Project Rocks for Learning & Portfolios
Working through this installation and scripting sequence covers many essential Raspberry Pi Projects such as Linux commands, scripting, camera control, automation, and video processing. The Pi‑hole build is also a strong DIY demo you can highlight in Backend Project Ideas: Perfect Picks for Portfolios & Resume, showing real-world use of Linux, networking, and automation in an on‑premise system.
Quick Recap Table
| Steps | Action |
|---|---|
| 1 | Connect camera to Pi |
| 2 | Enable camera via raspi-config |
| 3 | Capture test photo |
| 4 | Write camera.sh script |
| 5 | Schedule cron job |
| 6 | Compile images via ffmpeg |
| 7 | Cleanup and optional automation |
Extend Your Setup
Want to get creative?
- Add OLED display showing live frame count
- Sync timestamp overlays using
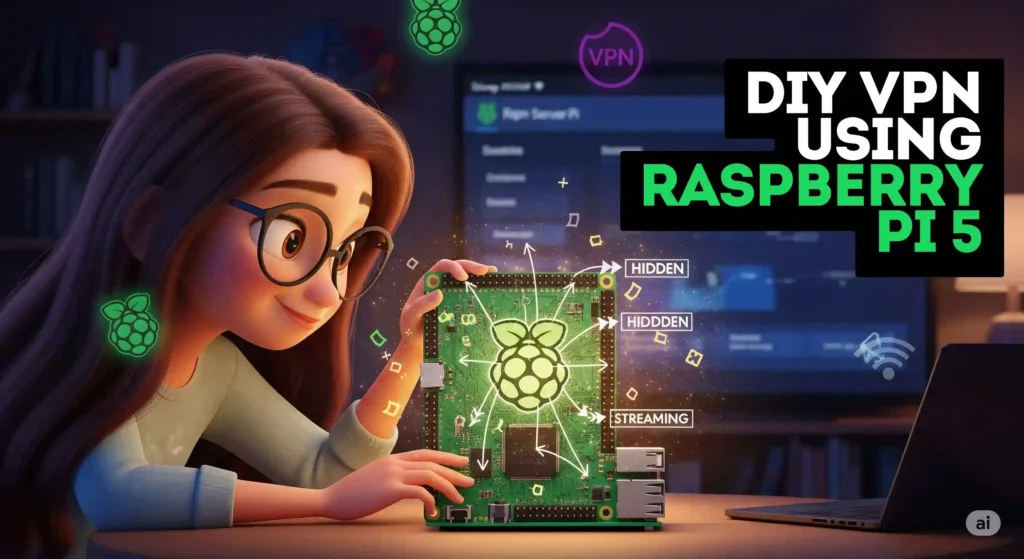
imagemagick - Build motion-triggered triggers and upload via your own VPN Using Raspberry Pi 5 project.
- Store captured footage in shared cloud or SSD storage


Final Thoughts
Building a time-lapse camera using Raspberry Pi is a fun, single-session project with instant results. It’s an excellent way to learn scripting, Linux basics, and essential camera control and walk away with a visual masterpiece.
Once you’ve captured your time-lapse, celebrate by sharing it or using the project in your portfolio thought of combining it with backend work or security setup like Installing Pi Hole on Raspberry Pi setup guide only boosts your tech profile. This DIY build is a creative and educational win, and just the start of what you can build with your Raspberry Pi. Have fun letting time fly!
A Raspberry Pi time-lapse camera uses a Pi board and camera module to capture photos at intervals, stitching them into a video. It’s ideal for beginners in Raspberry Pi Projects, offering hands-on coding, Linux learning, and creative visual results, all in about one sitting.
Enable the camera in Raspberry Pi OS, write a simple Python or shell script to run rpicam-still at timed intervals, and schedule it using cron. Images save with timestamps and can be stitched into video with ffmpeg which is a clean introduction to Raspberry Pi camera time-lapse Python.
Yes! A Raspberry Pi Zero camera project works well for simple, portable time-lapse setups. It supports rpicam-still or picamera2, handles intervals, and uses minimal power. Just pair it with a microSD running Raspberry Pi OS (Bookworm) and you’re good to go.
Capture blooms, flowing traffic, sunsets, or shifting clouds as slow-moving subjects look stunning. Use a stable mount and consistent lighting. Adjust intervals and duration based on subject speed, then compile with ffmpeg. It’s one of the best time lapse camera using raspberry pi methods.