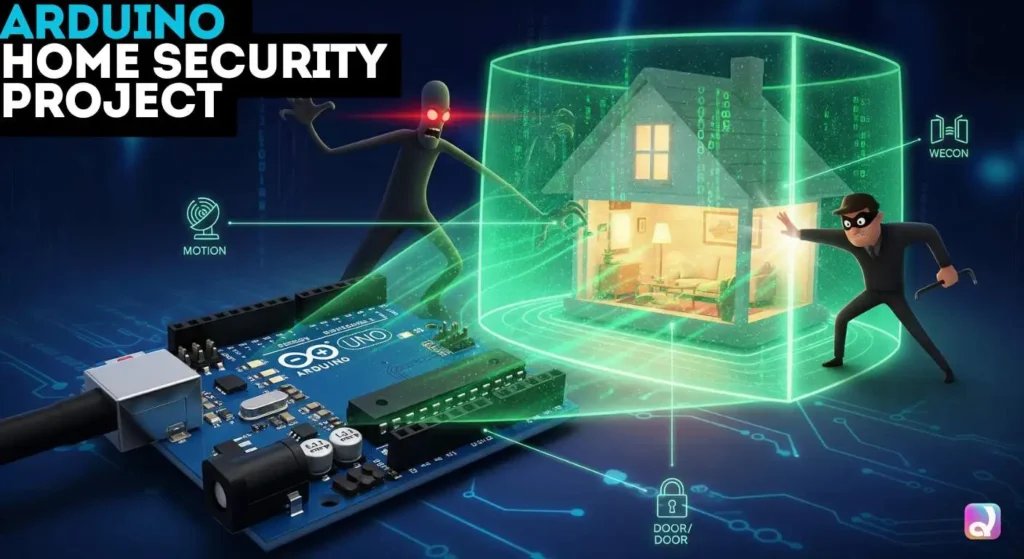
Setting up a home security system using Arduino is smart, affordable, and educational. Home surveillance doesn’t have to break the bank. You can create a functional motion sensor alarm system using just a few inexpensive parts. Arduino can be used to build a simple yet effective security system using sensors. You’ll gain hands-on experience with electronics and programming, all while adding a practical layer of protection at home.
You’ll Need These Components
- Arduino board (UNO, Nano, or Mega) – Choose based on I/O needs and size constraints. Want compact? Check the Arduino Uno vs Nano vs Mega guide for help.
- HC-SR501 PIR motion sensor module – Detects movement via changes in infrared.
- 5V buzzer or piezo speaker – Triggers an audible alarm.
- LEDs and resistors – For visual alerts.
- Breadboard and jumper wires – To prototype connections.
- USB cable & power source – To program and power your system.
- (Optional) Relay module, battery backup, housing case.
With just a few components like a PIR motion sensor and a buzzer, anyone can build a functional motion detector. Use official modules or affordable clones, many cost under $10.
How It Works:
Block diagram / wiring:
[PIR Sensor] ─┬──VCC (5V)
              ├──GND
              └──OUT → Arduino Pin 2

[Arduino UNO]
     Pin 2 → PIR_OUT
     Pin 3 → Buzzer (+) / LED (via resistor)
     GND → Buzzer (−) / common ground
A simple text description of the wiring:
- Power the PIR from 5V and ground.
- Hook the PIR’s output to Arduino digital input 2.
- Connect the buzzer’s positive terminal to pin 3, and negative to ground.
- Optionally wire an LED the same way.
Step-by-Step Build Instructions
1. Assemble Your Circuit
- Insert components onto the breadboard.
- Connect PIR OUT → Arduino D2.
- Connect buzzer + → D3, buzzer – → GND.
- Optionally add an LED with a 220 Ω resistor to D4.
Use female jumper wires to make connections simple. A basic wiring example from MakerGuides shows how to attach a PIR to pin 2 and a buzzer to D3
2. Write Your Arduino Sketch
Open the Arduino IDE and paste:
const int PIR_PIN = 2;
const int BUZZ_PIN = 3;

void setup() {
  pinMode(PIR_PIN, INPUT);
  pinMode(BUZZ_PIN, OUTPUT);
  Serial.begin(9600);
}

void loop() {
  int val = digitalRead(PIR_PIN);
  if (val == HIGH) {
    digitalWrite(BUZZ_PIN, HIGH);
    Serial.println("Motion detected!");
  } else {
    digitalWrite(BUZZ_PIN, LOW);
  }
  delay(200);
}
How it works:
- Reads digital value from PIR.
- Activates buzzer when motion is detected.
- Sends status updates to the serial monitor.
3. Upload and Test
- Connect your Arduino via USB.
- Select your board and port in the IDE.
- Upload the sketch.
- Open serial monitor to verify motion detection.
Wave in front of the PIR. If buzzer sounds and logs “Motion detected!”, you’re set.
Core Feature: Learn and Secure
This Arduino project for beginners bridges coding, circuits, and real-world application. It not only helps in learning but can actually be used to secure your home or room affordably. A simple motion detection system is often enough to alert you to movement while you’re away.
Easy Upgrades You Can Add
- Add GSM notifications – Send SMS alerts on detection.
- Attach a camera module – Snap photos or livestream to cloud.
- Wi‑Fi or Bluetooth module – Turn this into an IoT based home security system using Arduino.
- Battery backup + case – Keep it running during power outages.
- Integrate with Raspberry Pi – Unlock Amazing Raspberry Pi Project Ideas like local data logging or advanced alert dashboards.
- Secure remote access via VPN – Learn How to Make Your Own VPN on Pi for safe monitoring.
You can further upgrade it with a GSM module, camera, or IoT features in order to transform a basic alarm into a full-device security hub.
Real-Life Applications
- Bedroom alarm alerting on unexpected motion.
- Garage monitoring to deter intruders.
- Pet movement tracker letting you know when they’re out of place.
- Smart automation – detect motion and turn on lights automatically.
Combine this with home automation using Arduino, or expand into DIY Arduino projects like automated lighting or smart doors.
Code Walkthrough
if (val == HIGH) {
  digitalWrite(BUZZ_PIN, HIGH);
  Serial.println("Motion detected!");
} else {
  digitalWrite(BUZZ_PIN, LOW);
}digitalRead()checks for motion.digitalWrite()toggles the buzzer.Serial.println()logs alerts to your PC.
This is central to your Arduino home security system programming helps in learning to read inputs and react.
Optional: Add a Relay for Real Alarms
- Insert a 5V relay module between Arduino and buzzer.
- Use relay pin to switch a loud siren or external speaker.
- Power alert circuit while keeping electronics safe.
Why This Project Matters
This is more than a toy but it’s a practical learning tool. As a home security system using Arduino, it teaches:
- Sensor integration
- Real-time coding
- Power management
- System expansion via IoT
It’s a great stepping stone for bigger ambitions. Once you’re comfortable, explore Backend Project Ideas or study advanced lessons like Tech Skills That Guarantee High‑Paying Jobs in embedded systems and IoT.
Components & Specifications
These non-pushy tools will help your build:
- Arduino Uno R3 Starter Kit – includes UNO, sensors, USB cable.
- HC-SR501 PIR Motion Sensor Module – under $10, easy plug-and-play.
- 5V Piezo Buzzer – affordable and effective audio alarm.
- Breadboard + 40 Jumper Wires – prototyping must-have.
| Component | Specs & Description | Price & Buy Link |
|---|---|---|
| Arduino Uno R3 | ATmega328P, 16 MHz, 14 digital I/O (6 PWM), 6 analog inputs, USB & barrel jack. Ideal for Arduino home security system setup. | $8-$20 on Amazon |
| HC‑SR501 PIR Motion Sensor | Input 4.5-20 V, <120° detection, ~7 m range, adjustable sensitivity & delay. Core part of Arduino with PIR sensor build. | $5 – Add to Cart |
| 5 V Piezo Buzzer | Operates 4-8 V, draws <30 mA, compact 12 mm size. Produces loud alert (~85 dB). | $3.99 – Check Amazon |
| Breadboard & Jumper Wires | Standard 830-point solderless breadboard; 40-65 jumper wires for easy prototyping. | $5-$14 Best Deals |
| USB Cable (A-B/Micro-B) | For programming and powering the Uno. Common USB-A to USB-B (or Micro-B for Nano). | $5 – Add to Cart |
Bonus: Arduino Uno vs Nano vs Mega
Choosing your Arduino model matters:
- UNO – Best for most beginners.
- Nano – Compact builds.
- Mega – Large I/O projects.
See our UNO vs Nano vs Mega guide for help choosing.


Wrapping Up
Congratulations, you’ve built a working Arduino home security system project! What started as a simple motion alert setup can grow into a powerful IoT security hub with SMS, cloud alerts, or remote hosting.
Share your version of the project in the comments and Check the recommended kits/tools linked below to get started quickly.
Keep exploring, keep building and happy tinkering!
PIR sensors may trigger due to sudden temperature changes, electrical noise, or unstable wiring. Ensure tight connections, stabilize power, and allow 30-60 seconds for calibration. Use the sensor’s sensitivity knob to reduce trigger range
This often happens when you read a steady HIGH value, continuing the alarm loop. Implement state-change detection in code and only trigger when the sensor output transitions from LOW to HIGH to avoid repeated alerts.
Standard PIR modules detect motion up to 10m with a 110 degree field which keep the sensor free of obstructions, avoid pointing toward windows or vents, and adjust the lens or sensitivity to reduce range if needed.
Yes, small pets may trigger standard PIR sensors. Consider using pet-immune PIR modules or combine motion detection with sound sensors or beam-break setups for more reliable pet-safe operation.
First, ensure stable power to both Arduino and sensor. Allow calibration time (30-60s) after boot. Verify your wiring: PIR VCC to 5V, GND to ground, OUT to input with possible pull-down resistor .